Since tracking activities is what this app does, whether it be writing or editing, it felt appropriate to add a way to associate these activities with the actual project you’re working on. That way, together with the goals you set, you have a way to see if you’re actually working on your project or keep getting sidetracked by other ideas that pop up. I know I sure do from time to time.
For the purposes of OWL, I define a project pretty much as anything you might be writing, from blog posts for a particular month to flash fiction, short stories, novels and so on. Ultimately, you decide what that project is for you.

Setting up a project is simple. Go to the projects page and click the red plus button in the bottom right corner. A popup window will appear with a variety of empty fields waiting to be filled in.

Fill out the name, word target (if any), genre, type etc. If you have a cover image you would like to use you can upload it by clicking on the placeholder cover image. Note that the image should be in a 512×800 resolution to look good.
If want, you can also add a quick blurb about the story. Although only visible to you at the moment, future features of OWL anticipates public profiles that will display basic info about you and your projects so treat this summary as a blurb others will see. The same applies to the cover image.
The three checkboxes on the right would typically remain unchecked at the initial setup of a project.
The Published option you’d check when your story is actually published.
Completed would be checked when the story is complete but not published.
Privacy simply means that your project would be hidden from your public profile. Word counts and such will still be included in leaderboards (at least, that’s the current plan).
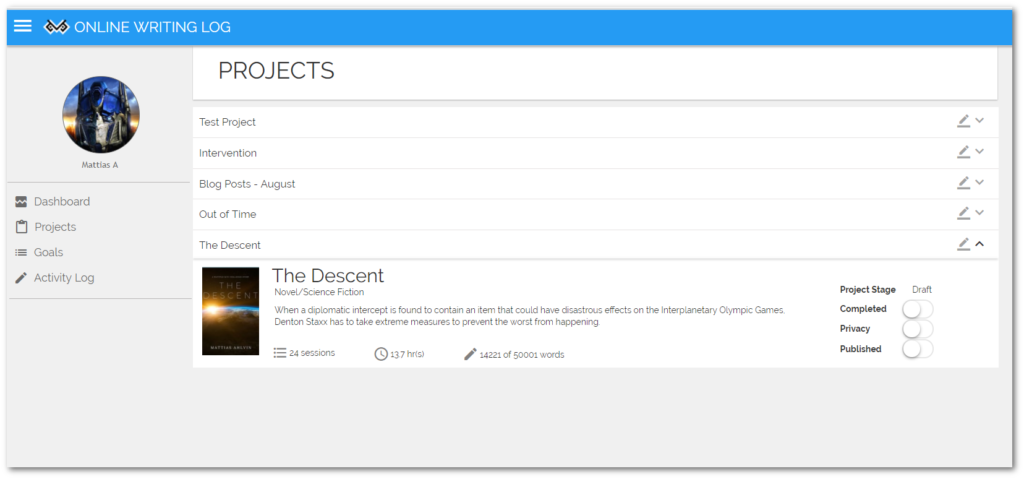
Once you save your project, a new entry is created in the list of projects. You can expand each project within the list itself to see progress, number of sessions, word count etc. You can also edit the project information, if you so wish, by clicking the edit button at the far right of each line item (the icon that looks like a pen).
That, my friends, is how you set up a project. In a subsequent blog post, I’ll show you how to associate your writing activities with your projects. First, however, let’s see how our set your monthly goals. This will be explained in tomorrow’s post.
Thoughts so far?