


May 2020 Update: The Scrivener installation process described below remains generally the same. Today, several additional software packages are installed as part of the process, which are not documented in the screenshots or video in this post.
For several years now, Scrivener has been my go-to application for writing my fiction. I like how everything is organized and even though I know I’m still only scratching the surface of what I can do with it, it’s what I’ve gotten used to and it’s what I’m using.
As I’ve pointed out on many other occasions, Scrivener isn’t perfect. The lack of an Android app that allows me to sync with my desktop version is one of those examples. Until my tablet died, I worked around this limitation by using Dropbox and Jotterpad together with the folder sync option in Scrivener. It worked well. In fact, I was able to write pretty much anywhere I went, just hit a button and have all my changes handy when I came home. It’s by far been one of the most helpful features in Scrivener.
However, since replacing my defunct tablet with a Chromebook (Acer SPIN 11), I faced the dilemma of trying to duplicate this type of arrangement. At first, I simply continued with Jotterpad. Most newer Chromebooks support Android apps and replicating my experience was a simple matter of downloading the app through Google Play. If anything, the larger screen free of clutter was actually quite awesome.
But, with the recent introduction of the ability to run Linux apps the Chromebook, I couldn’t help but wonder if there wasn’t a way to get Scrivener up and running on the Chromebook. After all, my current setup on my regular laptop is running Scrivener through Wine on Ubuntu (using PlayOnLinux). If that works on Ubuntu, maybe I could also get this to work with this new Linux capability on Chrome OS.
As I started to research this, I realized very quickly that there is another way to do this: through the use of Android apps. At first, I was excited but after diving head first into this solution, I realized it lacked a vital part: Dropbox sync.
For me, to even bother with Scrivener, I have to be able to access my projects saved in my Dropbox account. If I can’t do that, I have to copy and paste files and that’s not really a solution I’m looking for. I want it to be as painless as possible. I want it to just work. Otherwise, what would be the point? I had no desire to sit and copy and paste files back and forth.
Fortunately, after some research, I found a way to do exactly this: sync my existing projects from my Dropbox folder to my Chromebook and use Scrivener through an Android app to continue working on these. That is what this post is about.
The video below will walk you through how to install Scrivener on a Chromebook. Below the video, you can read the step-by-step if you prefer.
Requirements
Before we jump all in, let’s first establish what you need for this to work.
- A Chromebook capable of running Android apps – Note that not all Chromebooks have this ability, especially the older models.
- Scrivener (it has a 30-day trial so you don’t need to buy it to try this solution)
- A Google account to access Google Play.
- A Dropbox account (other compatible cloud storages MAY work; this post was written with Dropbox in mind).
- Crossover on Chrome OS, an Android implementation of Wine.
- Dropsync, an app that can sync your Dropbox files.
For the purposes of this post, I’m going to assume that you have access to Google Play and access to Android apps. Although there may be other ways to get access to Android apps on unsupported Chromebooks, I haven’t been in the Chrome OS world long enough to know if that’s even feasible.
Cloud Warning
Although I have never had any issues with Dropbox, you should be aware that using ANY cloud solution could cause project corruption. Currently, Dropbox seems to be the recommended solution. If you haven’t used Dropbox with Scrivener before, I highly recommend you review this support article from the Literature & Latte website (the creators of Scrivener):
https://scrivener.tenderapp.com/help/kb/cloud-syncing/using-scrivener-with-cloud-sync-services
With that said, proceed with the following at your own risk.
Install Crossover
Crossover is the key to this whole operation. If it wasn’t for this piece of brilliant software, none of this would be as easy as it is.
Crossover is, essentially, an Android version of Wine (a compatibility layer that allows you to run Windows apps outside of Windows) intended for use with Chrome OS. To install it, go to the page below or search for Crossover for Chrome OS on Google Play.
https://play.google.com/store/apps/details?id=com.codeweavers.cxoffice
At the moment Crossover for Chrome OS is a beta/trial product, which in this particular case means that as of this writing, it is free to download and use. However, it should be noted that a note within the app itself, it is stated that the trial ends Summer of 2018. When that actually happens, I don’t know, and what the pricing will be after that, I’m not sure. So, something to keep in mind.
Install Scrivener
Once you run Crossover, you’ll be presented with a search box, not unlike Google.com’s search box. In this box, you can enter the name of any app you’d like to install and if it’s already supported by Crossover with an installation script, you’ll see it pop up.

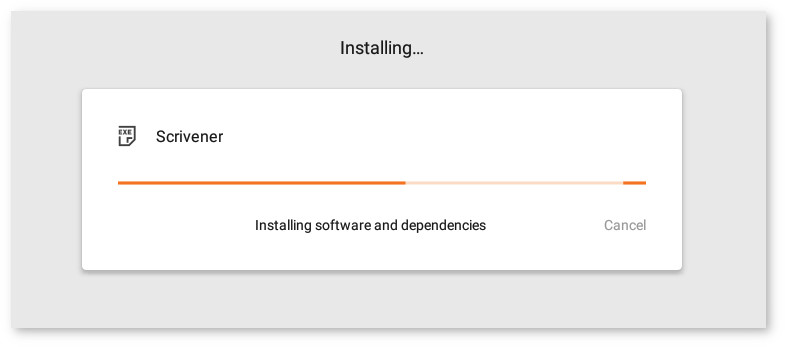
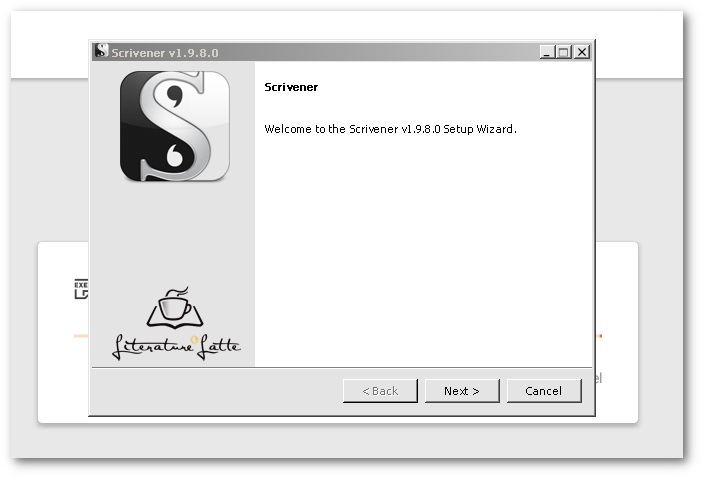
As it happens, Scrivener is one of those apps that already is supported by Crossover. So, you just search for it and click install, then follow the prompts. Crossover will even download the Scrivener installation file for you, so you don’t even have to do that (although currently it’s not the most recent. More on that later).
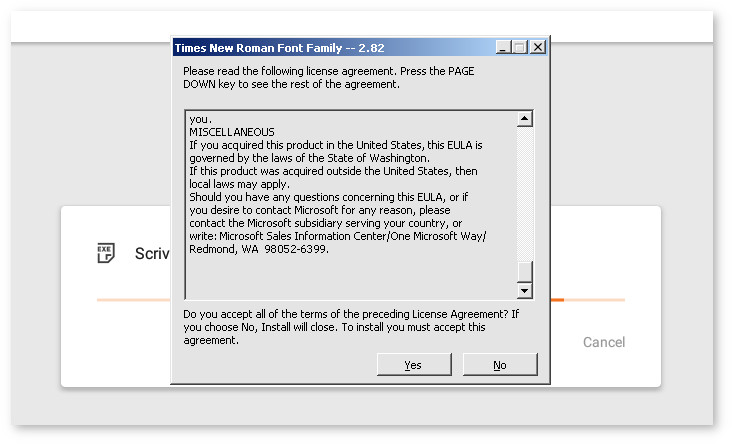
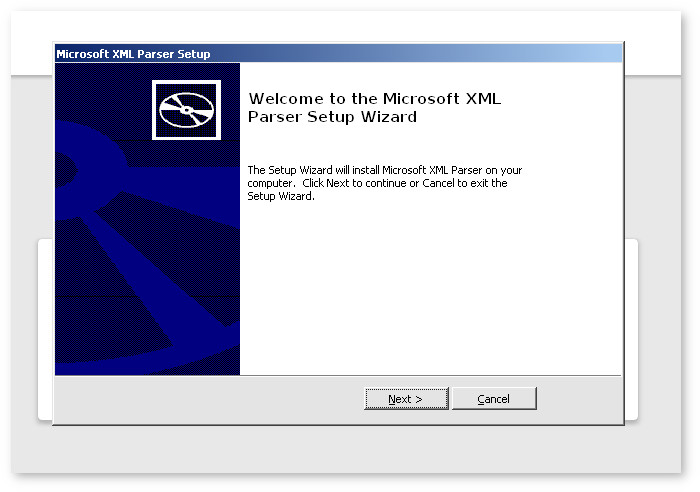
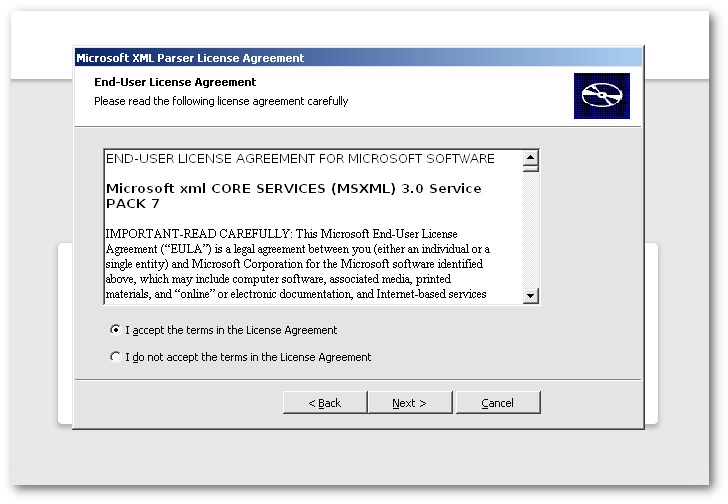
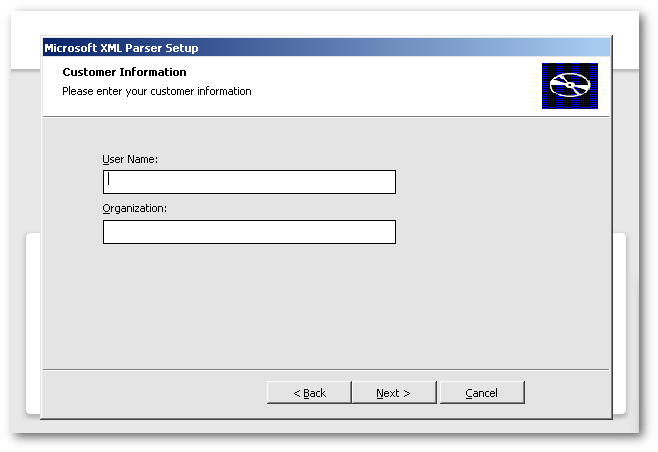
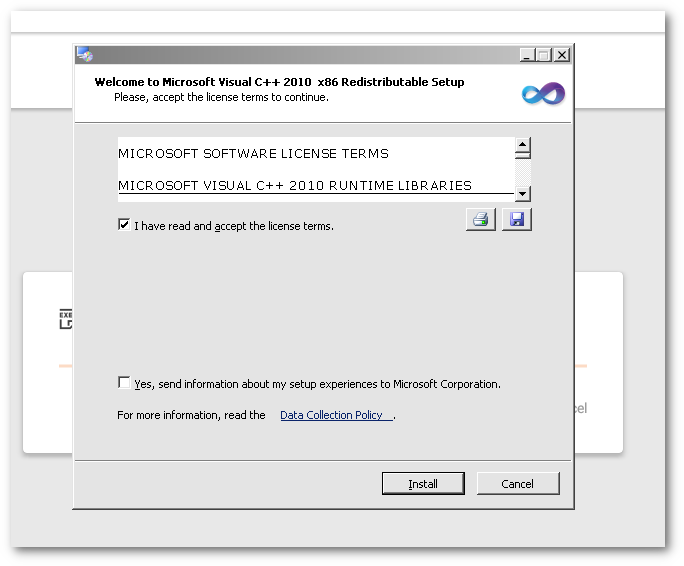
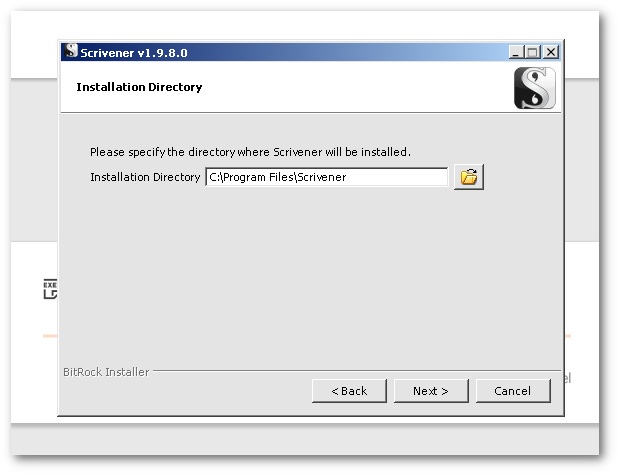
Now, fair warning: the installation does take quite a bit longer than it does on a regular Windows, primarily because there are several other Windows packages that are installed before Scrivener is actually installed, several of which are not documented below. Here’s a quick run-through of what you can expect during the installation process.
Note: there will be several instances when you will be asked to restart Windows. When this prompt appears, simply click “Restart Later” and continue.

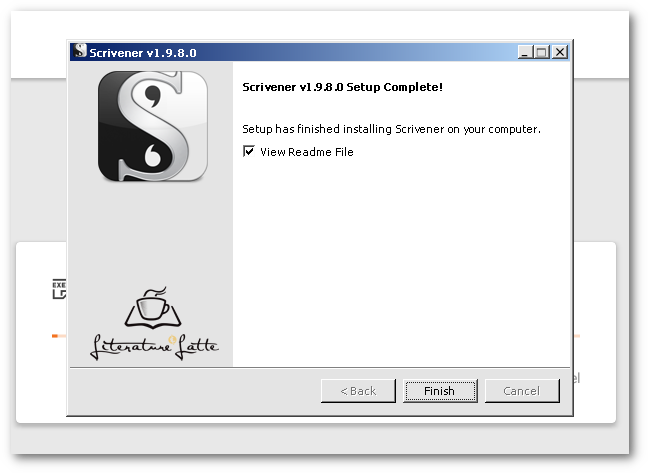
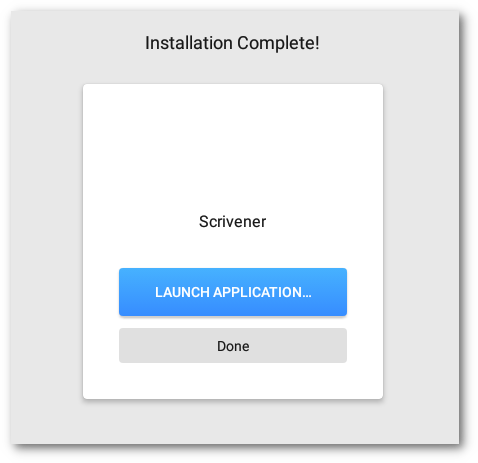
There you have it, Scrivener is installed on your Chromebook.
Now, Crossover will have an entry for Scrivener, as shown below:
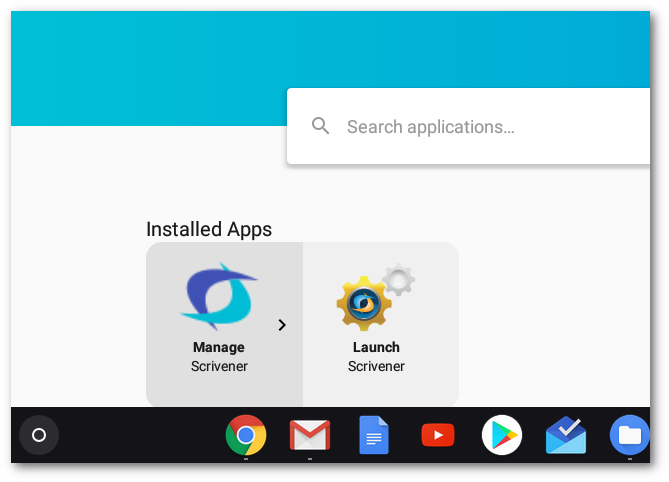
To launch Scrivener, just click the Launch Scrivener icon and wait a few moments while it loads. Before long, you’ll see a familiar popup.
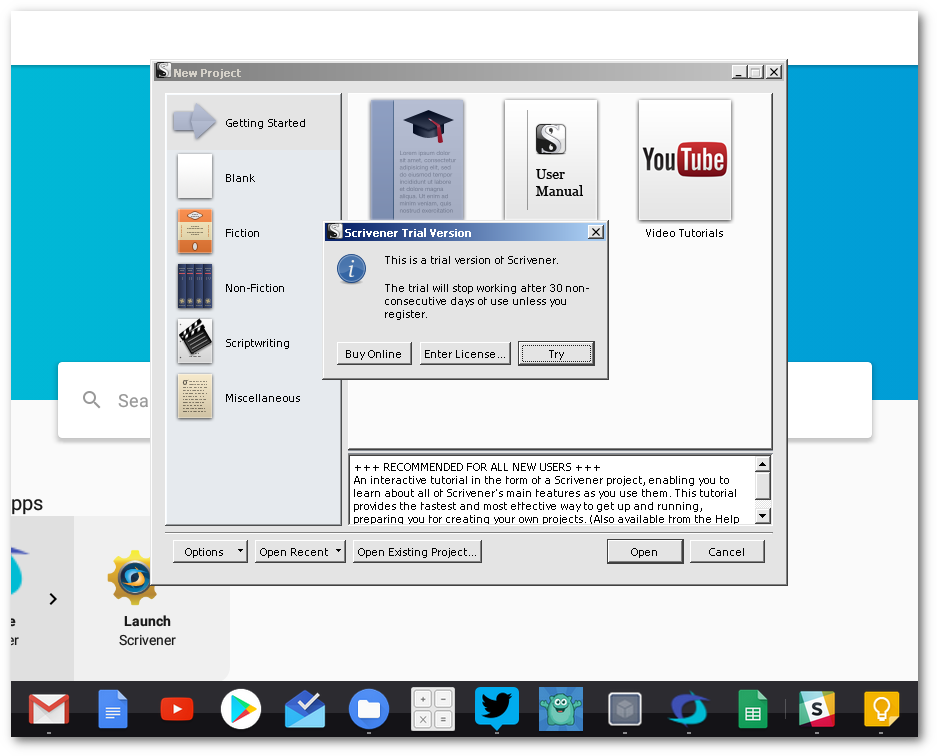
At this point, if you already purchased Scrivener, enter your license number and continue to enjoy the app. If you haven’t use the 30-day trial to check it out.
Then, either create a new project or open an existing one. Below is what an existing project may look like:

Next, let’s see how we can sync your Dropbox files so that they can be used with Scrivener. This is where the Android app Dropsync comes in.
Install Dropsync
One of the hurdles of how Chrome OS handles files is that Android and Linux app has no access to the Chrome OS file system, except for the “My Downloads” folder.
What does this mean?
Basically, see it as three separate containers (Chrome OS, Android, Linux), each which cannot access the others, with the exception of the shared access to the My Downloads folder (which really is more complicated than that but that’s how it comes across to the average user).
Since Dropbox access on a Chromebook is outside of the My Downloads folder, in order to be able to sync my Scrivener projects with my Dropbox account as I work on them, I had to find a solution that could use the My Downloads folder.
An Android app became the solution to this problem. It should be noted here that there are multiple Android apps that can do the same thing: sync folders with Dropbox, look for changes etc. Dropsync is the one I decided to try out long term and so far it’s been working pretty well.
To give the free version a try, download it here from your Chromebook:
https://play.google.com/store/apps/details?id=com.ttxapps.dropsync
Note that the free version can only sync one Dropbox folder while the premium version can sync multiple folders for $5.
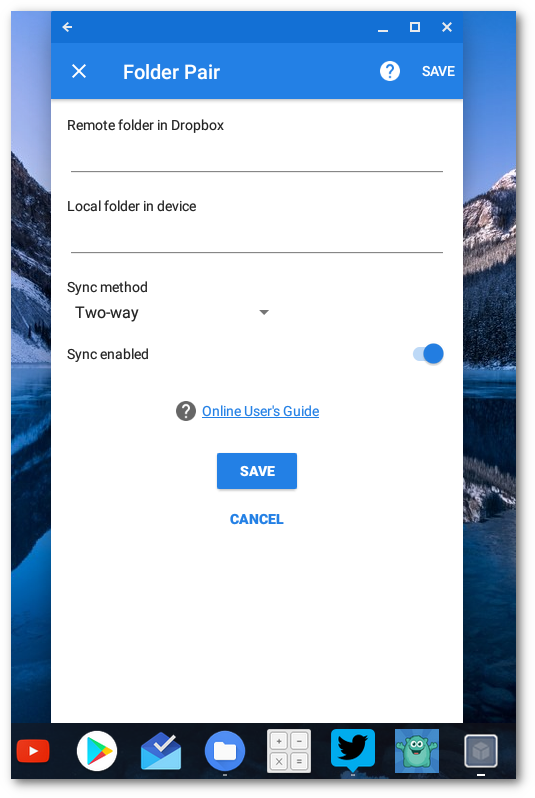
Once you download Dropsync, you’ll need to login to Dropbox within the app and then you’ll need to configure the folders to sync.
My recommendation at this point: DO NOT sync your entire Dropbox account. Dropsync will scan your whole folder every time it’s opened so the more files you have, the longer it will take. With large accounts, this can take a while. Instead, pick the folder that contains either just most recent project or projects.
Also, I recommend that you create a Dropbox folder in the My Downloads folder on your Chromebook, then within that create another empty folder with the name of the folder you want to sync.

For example, if your stories are saved on Dropbox under Projects>Writing>2018, for example, create a folder called 2018, or Writing2018, something along those lines. Then, when you select the folders you want to sync on your Dropbox account, you can select the 2018 folder there and the 2018 folder locally.
Sync It!
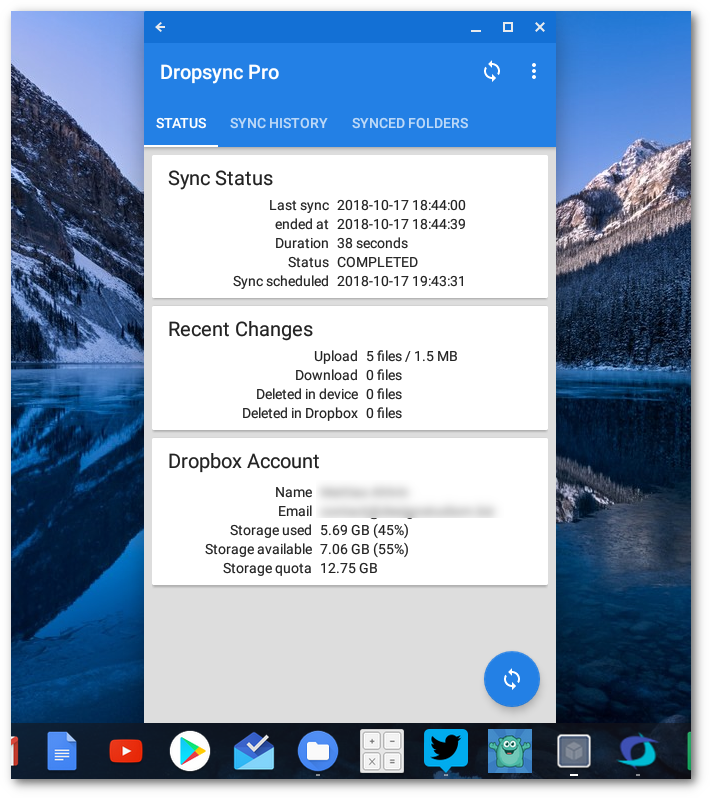
Once Dropsync is all setup, hit the sync button and then wait. The more data you have, the longer it’ll take but once the sync is complete, you’re ready to start writing.
Writing
Unlike Android and Linux apps that you install, Scrivener installed through Crossover will not have its own icon you can click on to install. Instead, you start Crossover and from within Crossover you start Scrivener, as shown earlier in this post.
Once loaded, the standard Scrivener icon will appear on your taskbar.
From there, just write away like you normally would. Once you save the project, Dropsync will automatically sync it back to your Dropbox folder (although this may not be immediate so don’t shut your Chromebook right away after you’re done). You can initiate the sync manually by clicking the blue sync button within Dropsync.
Some Things To Keep In Mind
Obviously, this solution is not perfect by any means. Fonts don’t look the best within Scrivener itself (although this can partially be remedied through Scrivener font settings), for example. I also have a small bar of empty space below Scrivener. From exploring various options in Crossover, this may be where the Windows Start button and taskbar normally would show up. You can see this if you start Scrivener in desktop mode. It’s annoying but it doesn’t appear to affect how the app works.
I have also not explored some of the more web-dependent features, such as copying data and links from a browser, embedding other kinds of files etc. So, I don’t know how well it works. For the time being, I’m satisfied with being able to just write. I will be exploring this a bit more and I’ll update this post as I proceed.
The version of Scrivener that’s installed is, at the time of writing this, not the most recent. There is one more recent update that Scrivener keeps prompting me to download. Once I’ve figured out how to apply this update, I’ll add that to this post.
From a technical perspective, the version of Wine that’s used in Crossover is also not the most recent if the version number in the Wine settings are to be believed (2.8). That obviously doesn’t keep Scrivener from working but it’s worth keeping in mind.
The above solution may also work equally well with other cloud providers. Dropbox just happens to be the one that I use.
Thoughts about the above? Is this something you’ll find useful? I know that for NaNoWriMo, this will be a lifesaver for me.
Please, if you give this a try, I’d love to know what your experience is.
If you find the above post useful, consider donating a cup of coffee or two. Or tea. Several cups were consumed during the creation of this post alone.


Nice explanation, thanks.
One quick caveat: DON’T use another cloud provider — many of them (including iCloud, Google Drive and OneDrive) don’t work well with Scrivener’s file format and you risk serious project corruption.
You can find details on Literature and Latte’s support site, but the bottom line is: only use Dropbox.
Good to know. I found the support article in the L&L website and added a link to it from within the post. I appreciate you sharing that with me!
No problem. Many thanks for a really useful and informative article.
This article was just what I was looking for. Thanks so much for putting all the details together so clearly.
I found out how to instal the latest available version of Scrivener for Windows. I downloaded the .exe from Literature and Latte to my chromebook and then followed these instructions:
https://www.codeweavers.com/support/wiki/chromeos/installunknownapp
I’m just setting it up now, but it seems to be working fine.
Awesome! I figured that would be the way to do it. Glad to hear that confirmed. I’ll add that to the post… After NaNoWriMo 🙂
This installation worked fine for me, but the font is so small in Scrivener when I open it. I can barely read any of the text in the menus. Any idea how to make the images and text in the Scrivener window larger? I don’t think it’s a Chromebook issue, but rather a CrossOver issue.
Sorry, Jake, just saw this. You can change the font sizes through the Scrivener settings menu.
Thanks for this guide – it was super useful and clear, and I’ve managed to run Scrivener through my Pixelbook. I’m having the same problem Jake Chism has – has anyone found a solution to the tiny font?
Kate, my apologies, just saw this. You can change the fonts and font sizes in the Scrivener settings for pretty much everything in the app. I’ve done that to adjust for some missing fonts on the Chromebook.
I’ve installed Scrivener on Chrome through Crossover, but even after a reinstall and a restart, Scrivener can’t access the activation server. Do you have any insights on that?
Unfortunately, I don’t think I do. I never had any issues with the activation aspect of the installation. If you do figure it out, do please share though, it’s good to know.
Some people on the Scrivener forums were saying the current version of Wine (and therefore Crossover) has Mono implemented, and that prevents Scrivener from contacting the server. I wish I could figure out how to disable it and use actual .net instead.
Do you have the latest Scrivener version? Didn’t they change the providers for the license checks over the summer? I may have to give it another try, I’ve been using the beta for the last year.