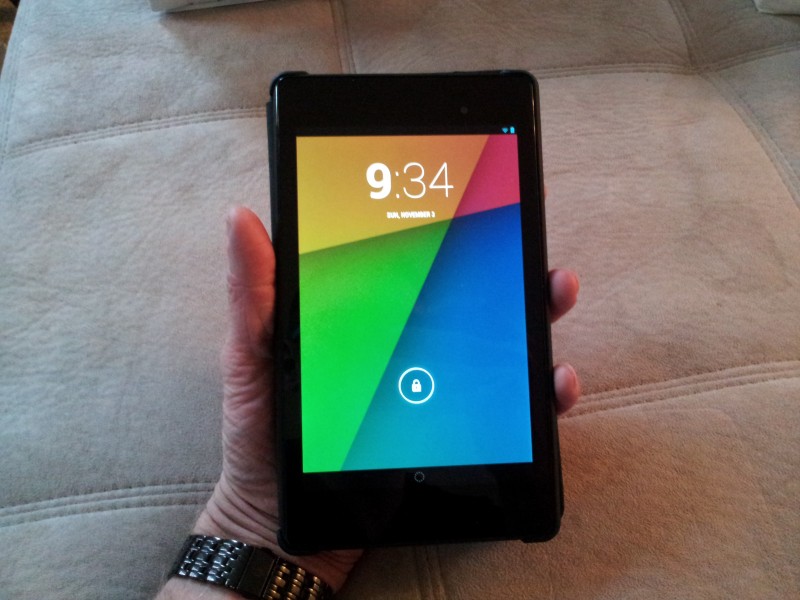
Having just received my Nexus 7 a few weeks ago, I knew that KitKat would be just down the road. In the last day or so, Google announced that it’s finally available for the Nexus 7 WiFi model, which is the one that I have. Of course, the roll-out is painfully slow as it can be with Google updates.
This evening I started seeing posts about flashing the file instead of waiting for the OTA. That was a simple decision. Of course, most instruction sets are for Windows or Mac. I use Ubuntu. However, as I quickly found, the instructions for Windows/Mact will essentially work for Ubuntu as well.
For now, I’ll refer you over to Phandroid for the instructions for Windows & Mac. The only part I found missing in this set of instructions comes after step 3, booting into fastboot mode. Between step 3 and 4, you need to select “Recovery Mode” using the volume up and down arrows and then the power button to get into that mode. You will then get the Android with the red exclamation mark discussed in step 4.
Also, for Ubuntu, enter the adb sideload command as follows: “./adb sideload KitKat.zip”
All in all, not including the download, this process took maybe 5 minutes before I was happily booting into Android 4.4.
Source: Phandroid


